前言
在之前的一篇博文中介绍了Nginx负载均衡的实现,本篇文章就简单介绍下如何用Nginx搭建一个文件服务器。
Nginx安装
在之前的一篇博文中已经讲述过了,这里就不在讲述了。
地址:Nginx Linux和Windows安装教程 :https://www.cnblogs.com/xuwujing/p/11899890.html
Nginx配置
Nginx的配置这块和普通的一样就可以了,只要在nginx/html 目录新增文件即可。然后通过Nginx的IP加上文件的路径即可下载,比如在nginx/html目录创建一个test目录,然后在test目录在创建一个xuwujing.txt和xuwujing.zip的文件,最在浏览器输入 http://localhost:8080/test/xuwujing.zip,即可进行下载。
示例图: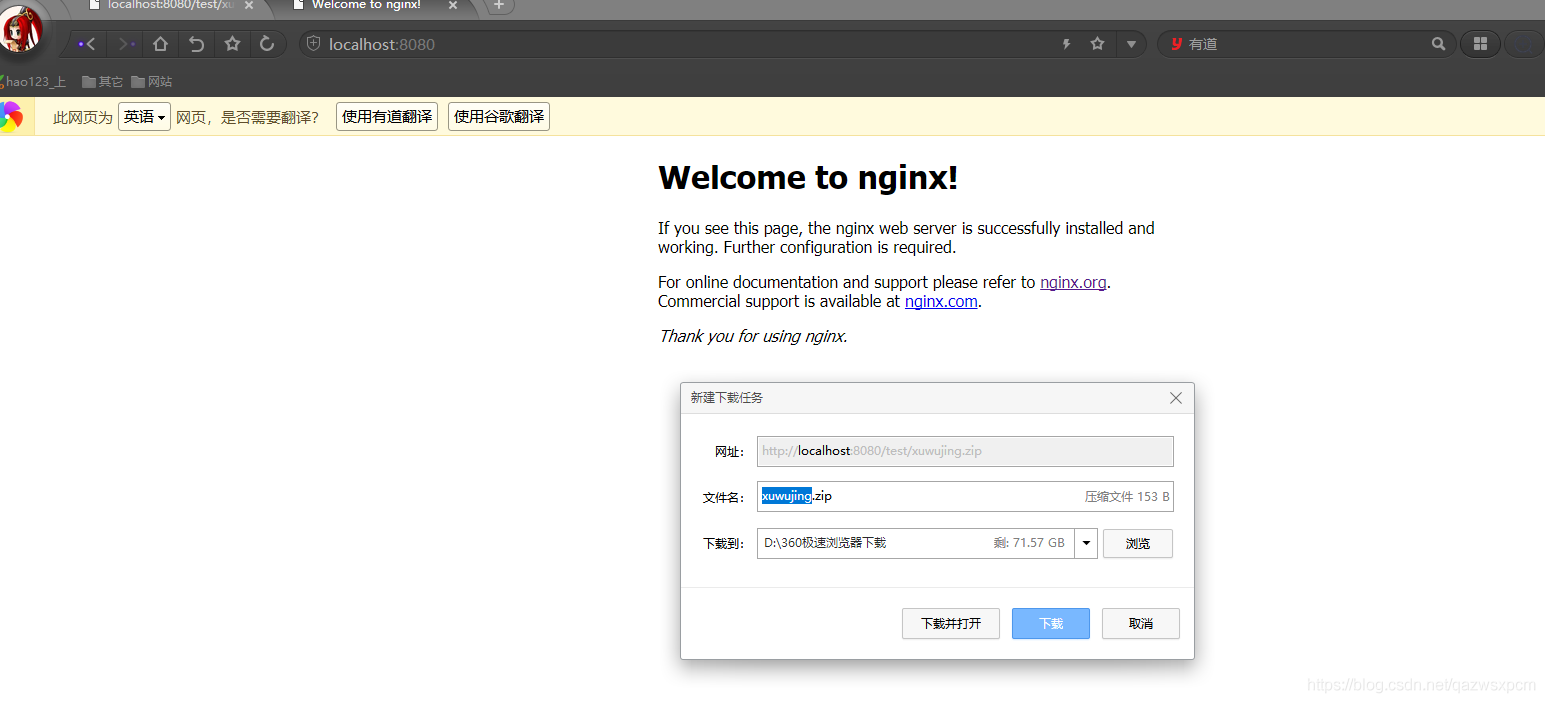
静态文件下载
上述的配置可以简单满足一些要求,但是有时候我们想通过nginx进行下载其他的格式的文件时候,比如下载一张图片,但是访问这个url浏览器会自动展现这张图片,那么这时我们就可以通过增加配置,并且让浏览器下载该图片。
例如,我们在访问test目录的静态文件,那么我们在nginx/conf中添加如下配置即可!
|
|
示例图:
未加配置的时候:
添加配置的时候: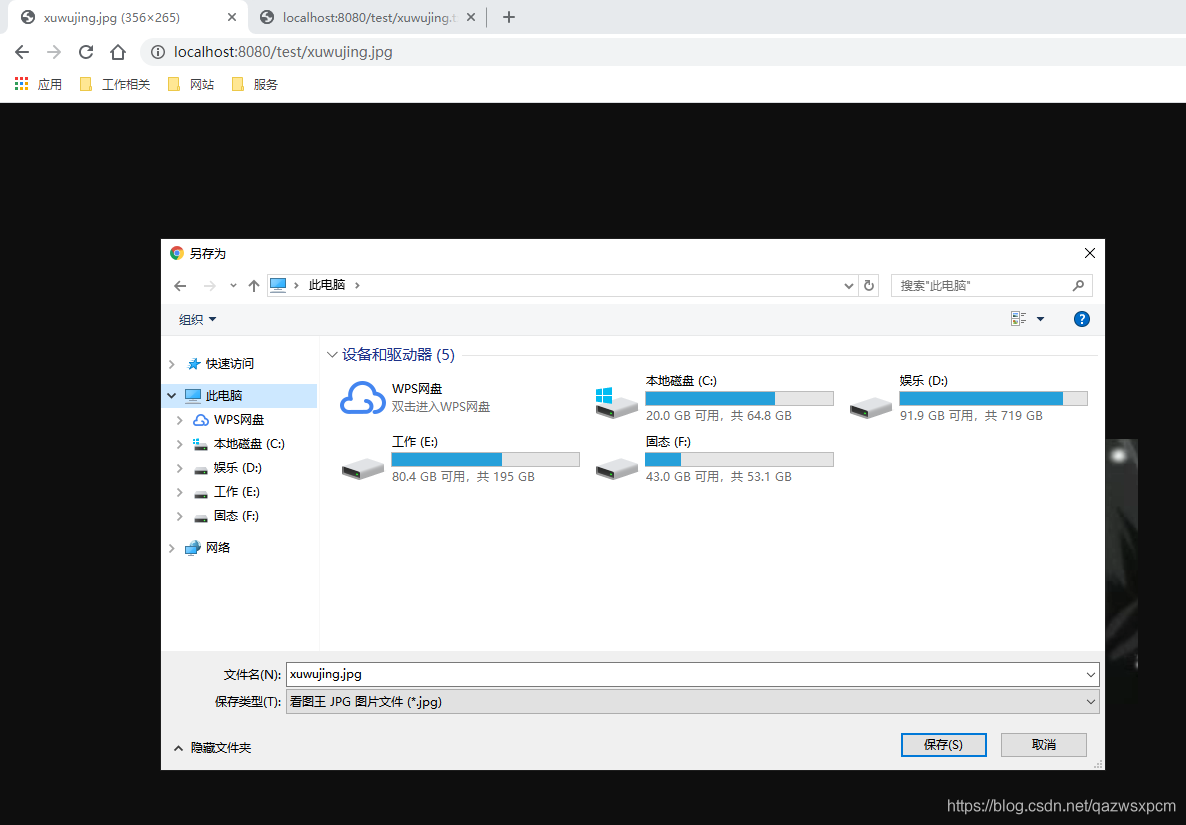
指定文件存放路径
Nginx的文件路径默认在安装的nginx/html 目录下,如果我们想改变这路径,可以将location 的root 路径进行更改,比如更改到opt目录下 :
|
|
nginx/conf 配置
那么nginx/conf的配置如下
|
|
其他
相关文章
Nginx Linux和Windows安装教程:https://www.cnblogs.com/xuwujing/p/11899890.html
SpringBoot+SpringCloud实现负载均衡: https://www.cnblogs.com/xuwujing/p/10273989.html
Nginx+SpringBoot实现负载均衡: https://www.cnblogs.com/xuwujing/p/11953697.html
音乐推荐
原创不易,如果感觉不错,希望点赞或推荐!您的支持是我写作的最大动力!
版权声明:
作者:虚无境
博客园出处:http://www.cnblogs.com/xuwujing
CSDN出处:http://blog.csdn.net/qazwsxpcm
掘金出处:https://juejin.im/user/5ae45d5bf265da0b8a6761e4
个人博客出处:http://www.panchengming.com